
Overview:
One of the more challenging aspects of facebook advertising setup is properly using the Facebook Pixel. We often have clients onboard that have no pixel, a misconfigured pixel, or several redundant pixels. Even once installed, the Facebook Pixel needs conversion tracking setup within event manager! Here are the basic steps to installing the Facebook Pixel on your website!
1. Log In To Facebook Business Manager
The first step to setting up Facebook Pixels is logging into Facebook Business Manager. You will need a Personal Business Manager account in order to setup a new Business Manager Account.

The Facebook Business Manager homepage looks like the above image with a grey Log In button, and a blue Create Account button. Clicking Create Account will take you through the Business Manager Account Setup process. You can learn how to complete that process here.
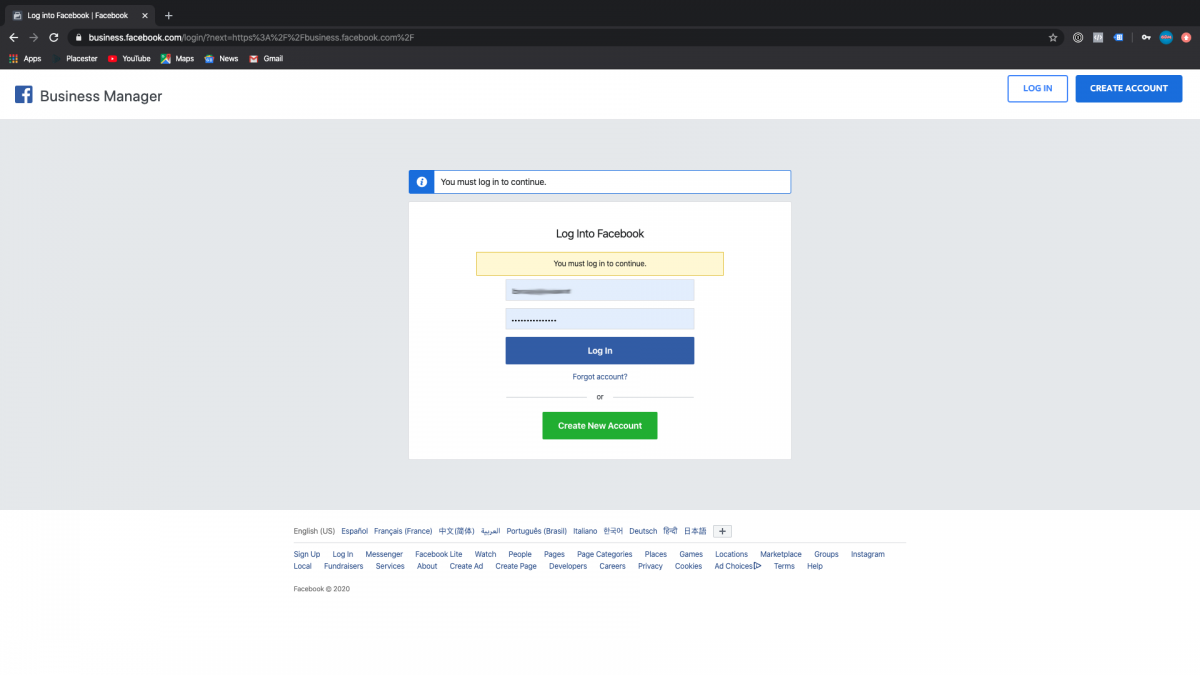
Clicking on the Log In button will take you to the login page. You use your Personal Facebook Account Email to log onto the Business Management Platform. Once you have logged in you will be taken to the Business Settings Overview Page.
3. Navigate from Business Settings to Data Sources
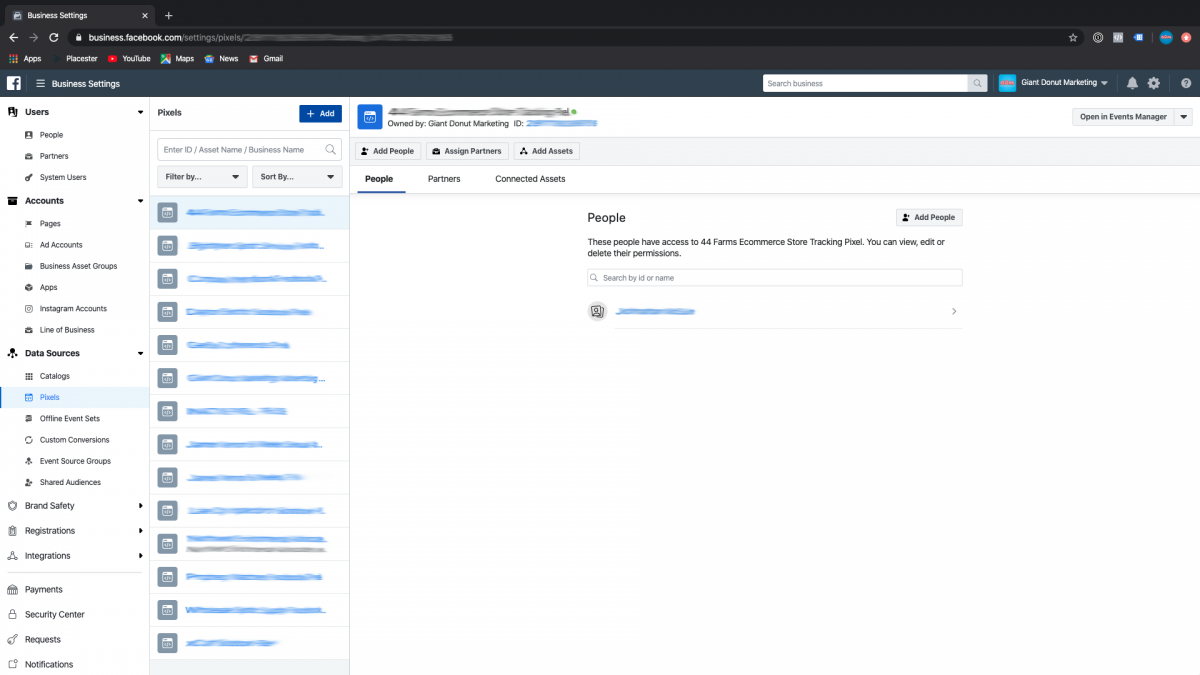
Currently (February 2020) Data Sources is the third tab from the top item on the Business Settings menu. Once you have located Data Sources, choose pixels to bring up the Facebook Pixels Sub Tab.
4. On the Pixels Sub Tab, Click the Blue Pixel + Button
Once you have clicked pixels, it will take you to the Facebook Business Manager Pixels Overview Page. This page will show all the pixels for which you have management access. Click the blue + Add button to create a new Facebook pixel! This will bring up the Facebook Pixel Setup Wizard.
Pixel Setup Wizard
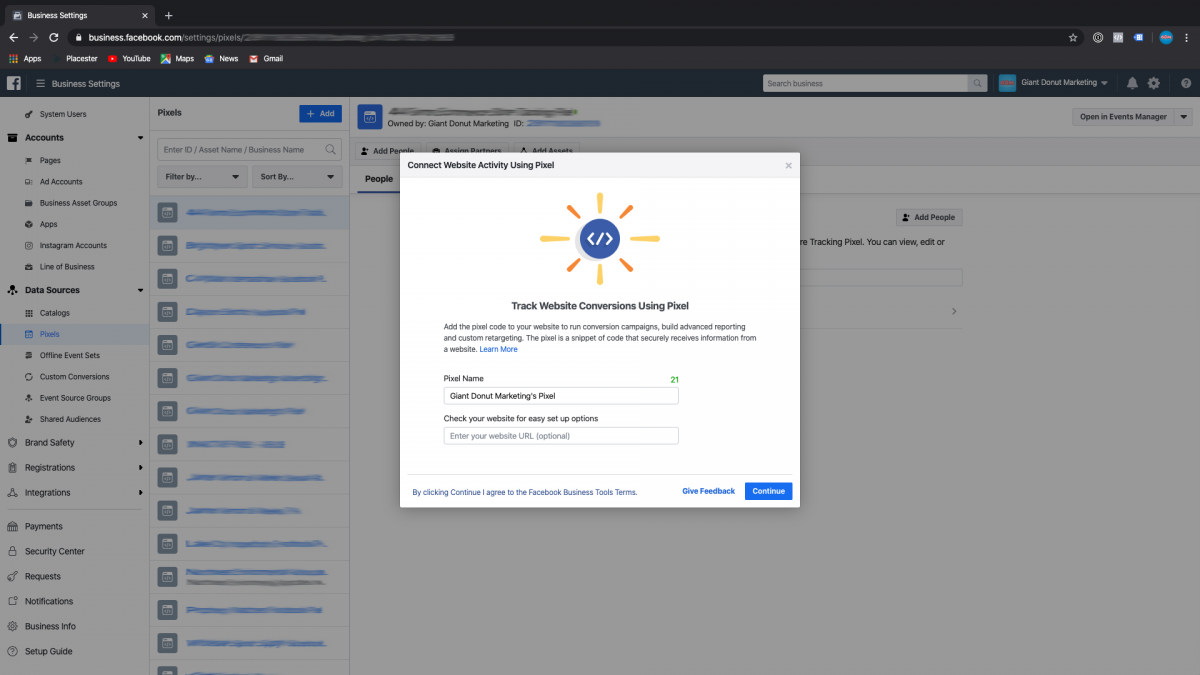
A. Track Website Conversions Using Pixel Setup And Naming Pixel
Enter The Pixel Name, as well as (optional) your website URL. Entering your site url will help Facebook identify your website CMS and they try and cater learning materials.
B. Pixel Installation Code Snippet Setup Options
Option One: Add Code Using a Partner Integration
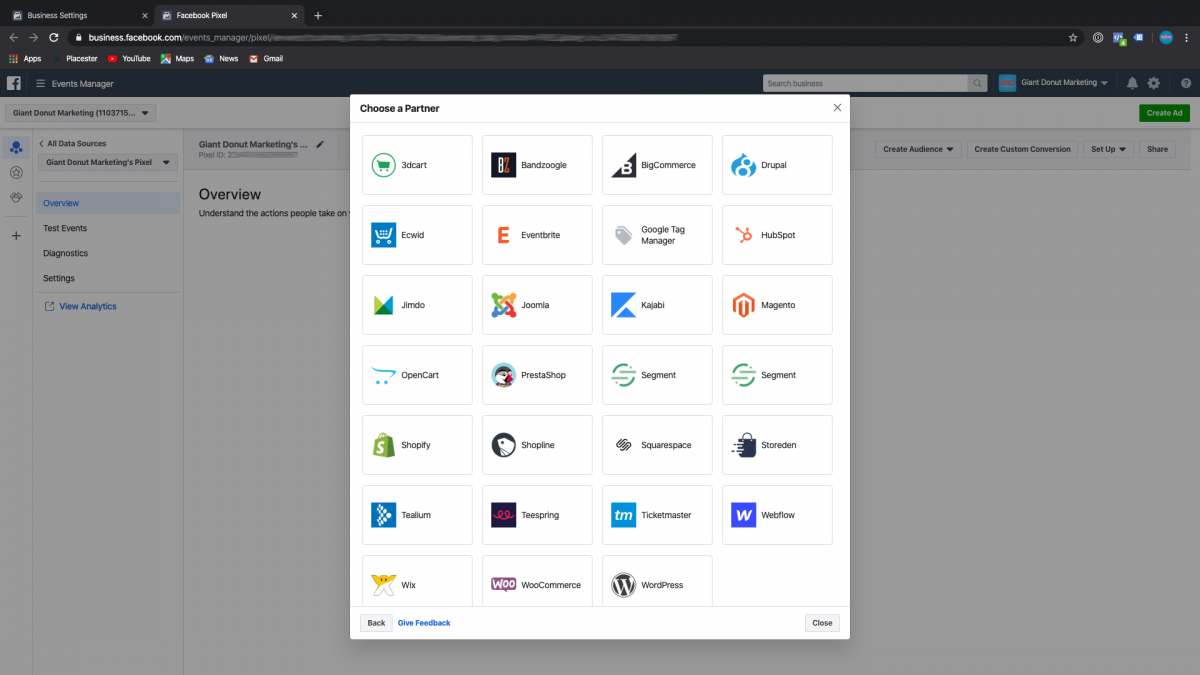
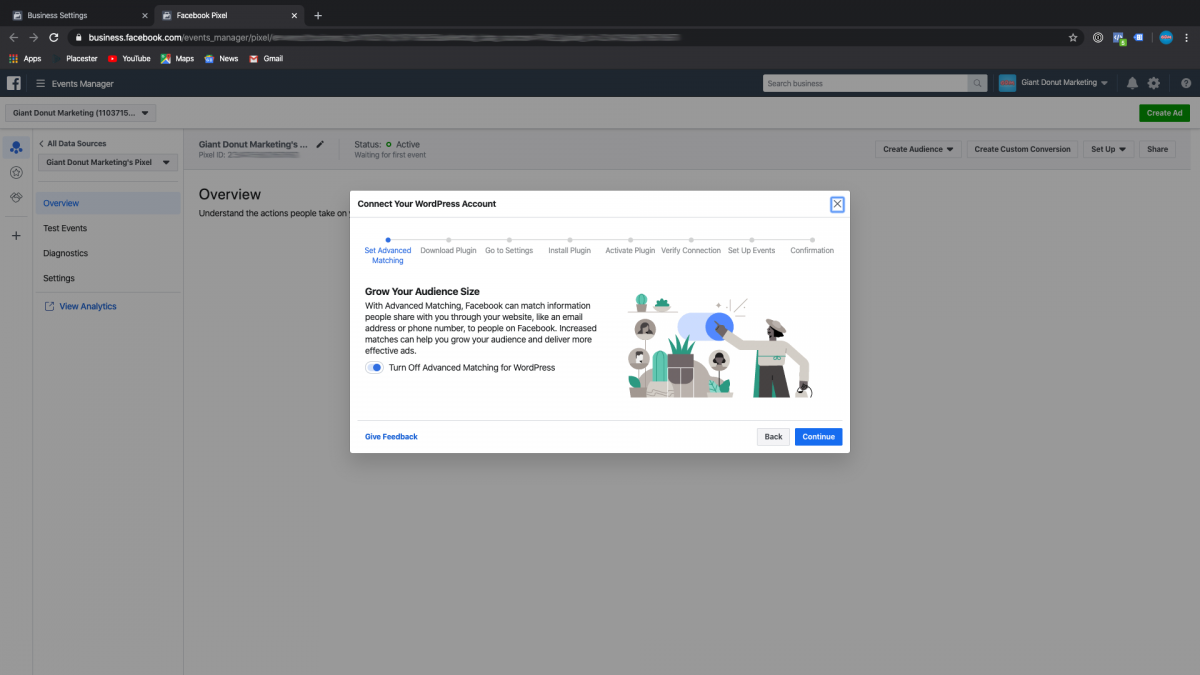
Facebook has over 50 partner integrations including the most popular website CMS systems like WordPress, Shopify, and Squarespace. Once you choose your Website CMS provider, another setup box will popup with the specific setup steps for your website. An example of this portion of the wizard is below. This is the WordPress Pixel Setup Wizard.
Option Two: Manually Add Pixel Code To Website
Following their Facebook setup guide, you manually install the base pixel code, and further events codes for the Facebook pixel. This process can only be completed if you are comfortable inserting code directly on your website!
A. Install Base Pixel Code in Asynchronous Header Section of the Website
First log in to your website. Then enter the header section of your website. How you complete this action depends on your site CMS, and feel free to consult with an expert first. Place the code snippet Facebook generates in the the header section of your website, close to the body tags.
Second, make sure you turn on advanced matching (helps get more consistent user data between Facebook and your website.
B. Test The Facebook Pixel Installation With The Pixel Test Tool (seen above)
Once you have confirmed the Facebook Pixel using the Manual Pixel Installation test, you will have completed pixel setup!
Option Three: Email Instructions to a Developer
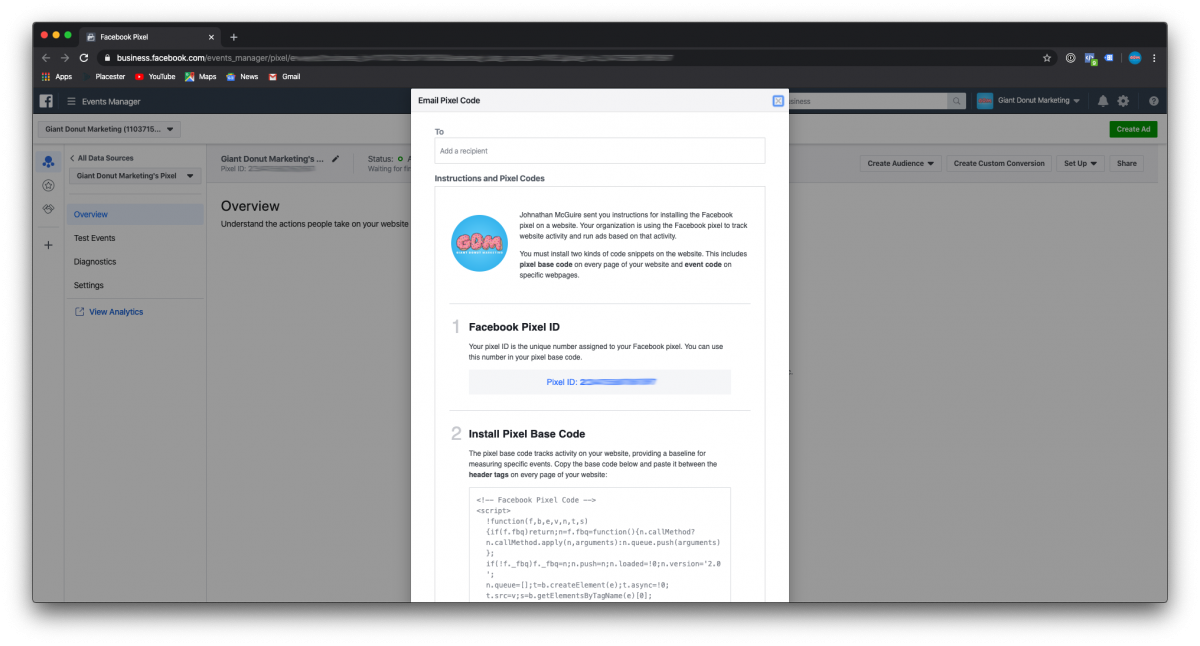
This option brings up a window for sending the base code snippet, as well as advanced instructions for a website developer. Handy to send to your web team if you need help with Pixel Installation.
Once you have completed the above steps, and you successfully test the pixel in the wizard, you will have professionally setup the Facebook Pixel from Business Manager! The next steps in the process are setting up custom audiences and Pixel conversion events!
