
Overview:
Facebook Business Manager is Facebook’s primary tool for marketing management. When you run ads that require specific conversion or audience targeting, business manager provides you with the tools to control your advertisings more complex components. Facebook Business Manager Accounts are a collection of services that includes Users, Accounts, Data Sources, Brand Safety, Registrations, and Integrations. The purpose of this guide is to provide the steps for setting up your Facebook Business Manager initially. For more information about specific usage of the platform, please check if your problem is directly covered in our index!
1. Log In To Facebook Business Manager

The Facebook Business Manager interface can be found at this URL: business.facebook.com. You will need to use your Personal Facebook Email Address to Register your Facebook Business Manager account. From the above page click create account to enter the Business Manager Create Account Wizard. This will walk you through the basic setup steps including first Business Account Setup. Once you complete the wizard, it will take you to the Facebook Business Manager Account Overview.
2. Using Facebook Business Manager Tools
Now that your account is setup, we will go over some of the most important functions of Facebook Business Manager
A. Facebook Page Management
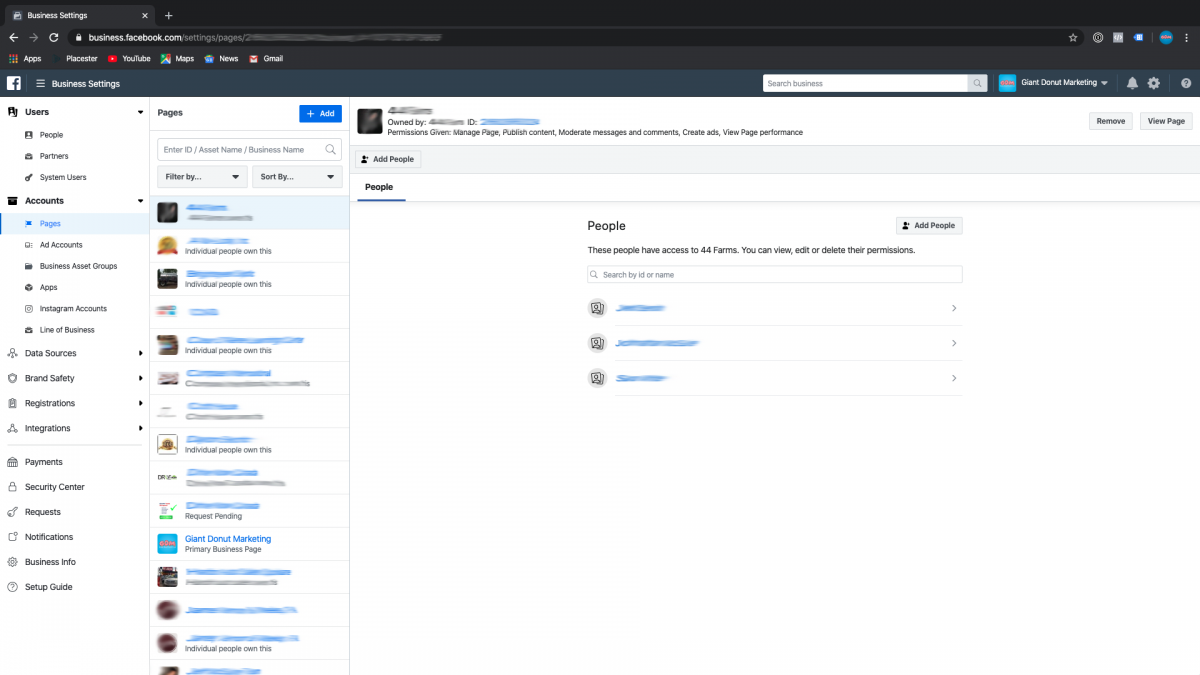
Facebook Business Manager makes managing your business or client’s Facebook pages a breeze. From the Facebook Business Manager Account Overview click Accounts, then click Pages. There are several different ways to Add new or existing Pages to your Business Manager Account.
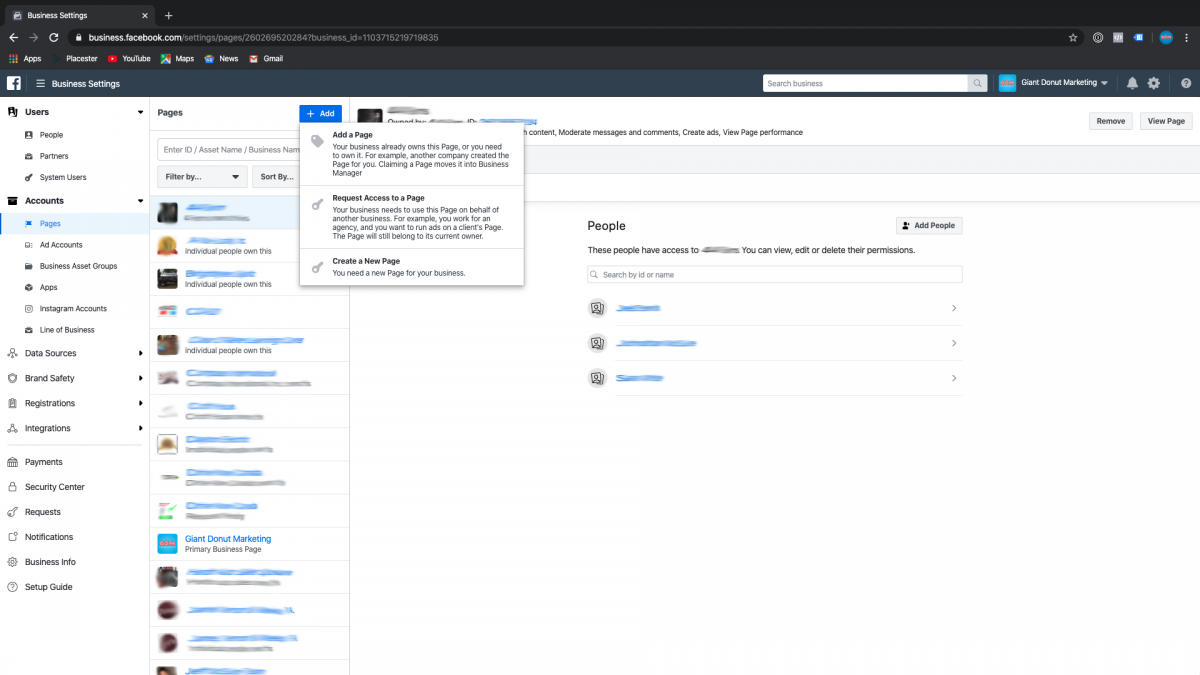
Option 1: Add A Page to Business Manager
If you are a single location business, or are setting up Business Manager for yourself, you will want to add your existing Facebook page to Google Business Manager by clicking the Add a Page menu option. This will send a request to the page you are asking to manager. Login from the Non Business Manager and confirm this request through your front end Facebook Page management platform. You can learn more about that process here. Once that request is confirmed, you will have access to that Page on Facebook Business Manager.
Option 2: Request Access to a Page in Business Manager

If you are an Agency, or have more then one Facebook page, you will want to send a access request to the page owner. This will grant your agency permissions to the page without taking over ownership of the Facebook Page. This is important in case the business owner and your agency part ways, since they will want to retain ownership of their Facebook page separate from your Agencies business manager account!
Option 3: Create a New Facebook Page
Choosing this option will guide you through the new page setup process in Facebook Business Manager. This process has several secondary steps.
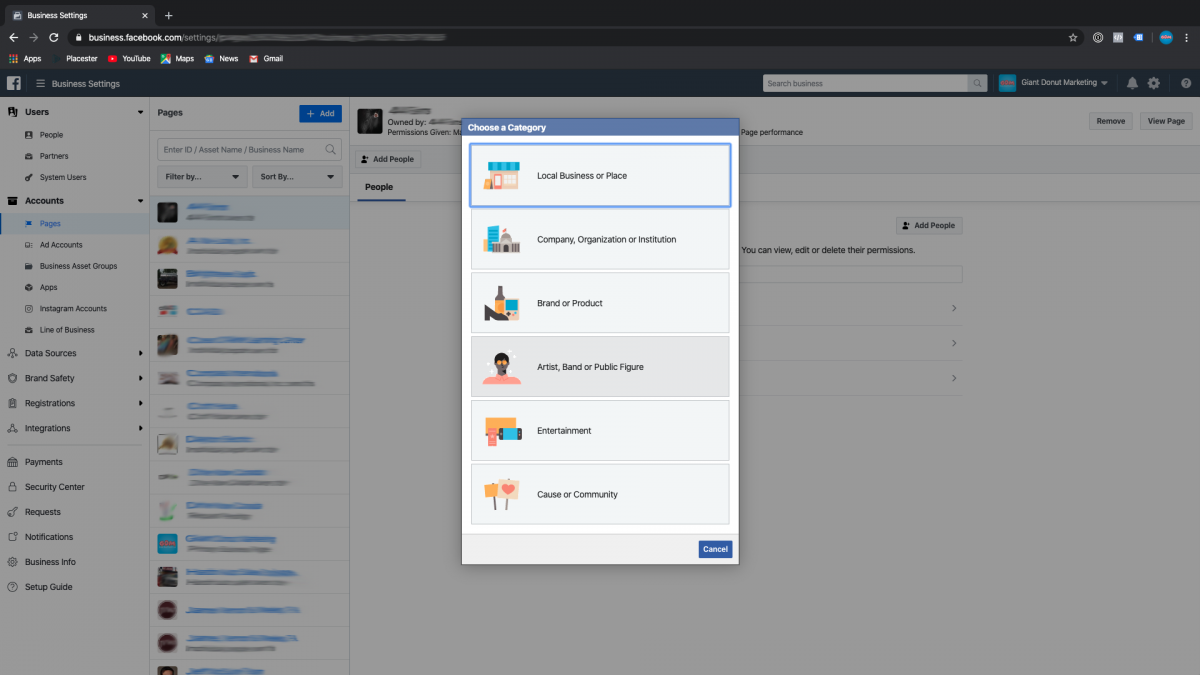
1. Add A New Facebook Page: Local Business or Place
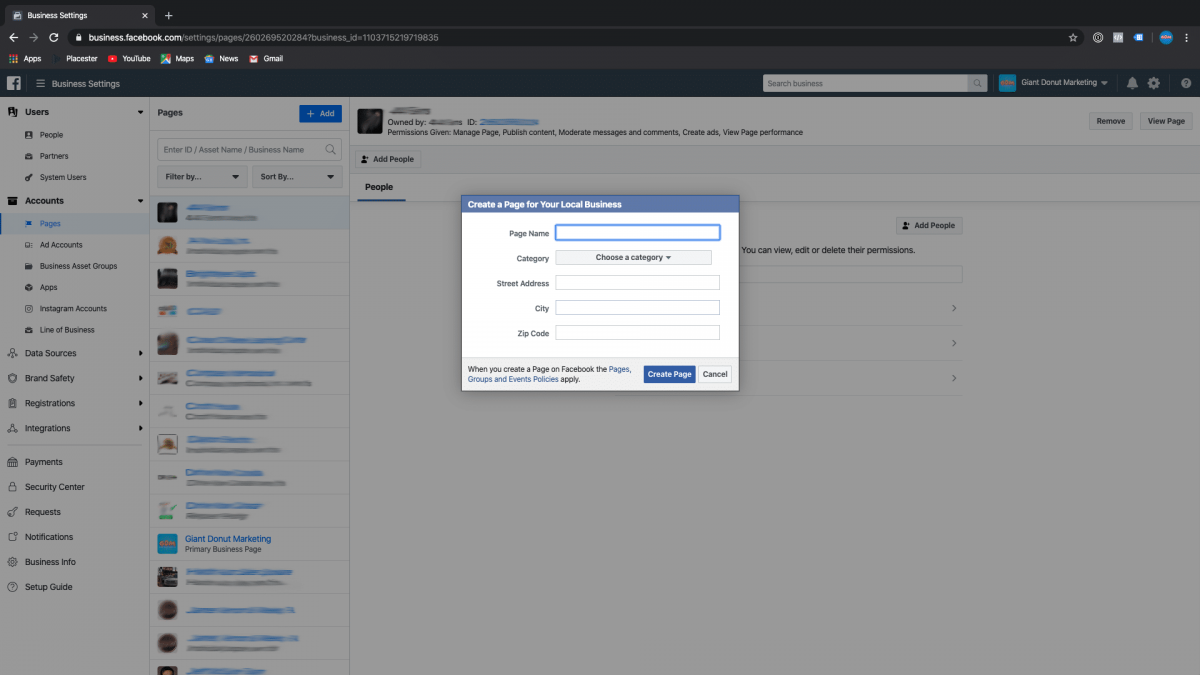
This option requires the most work. After choosing the Local Business or Place option, it will open the New Local Business Page Wizard. Once you have entered all the pertinent information, press Create Page to complete the setup process.
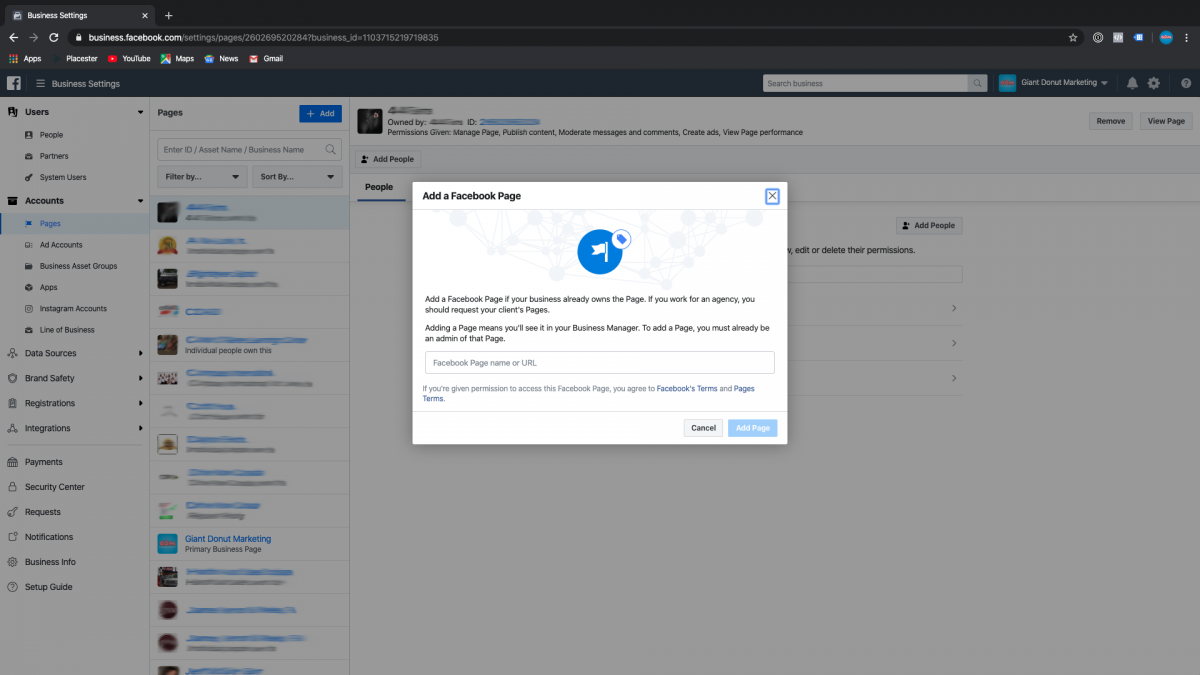
2. Add A New Facebook Page: All Other Types
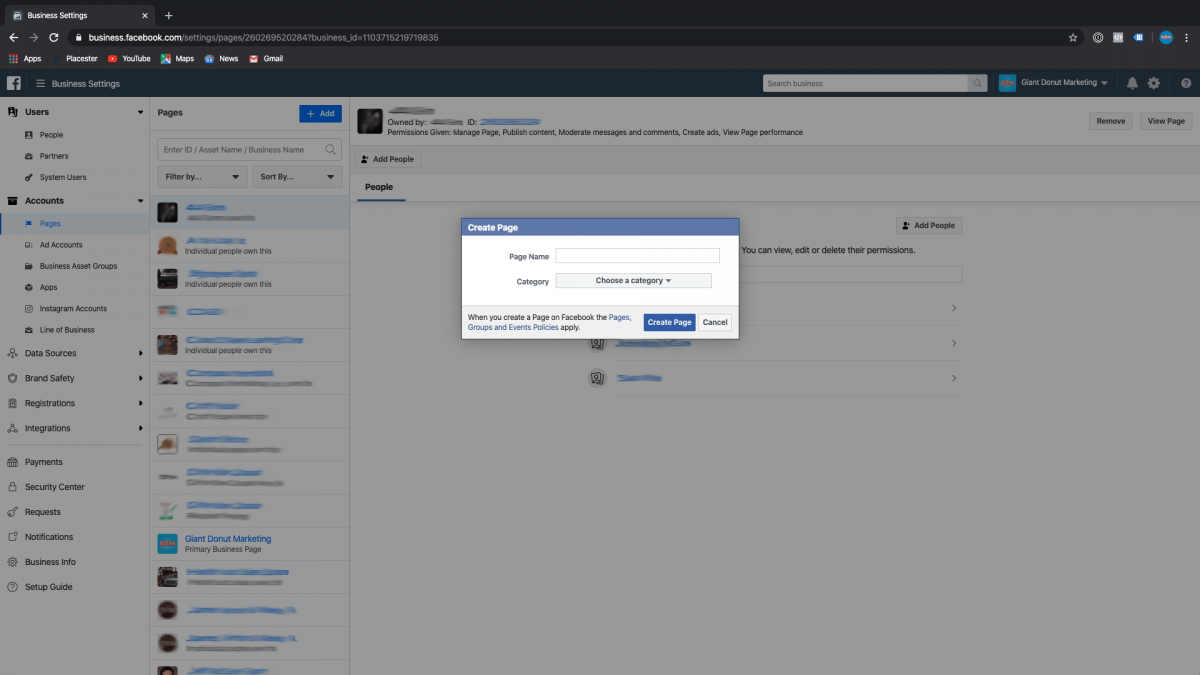
When adding any other page, you will simply choose the Page Name, and the Page Category. Each category dropdown is different depending on which initial Page Type you chose. Once you have named the page and chosen the category, press the Create Page button to complete setup!
B. Facebook Ad Account Management
One of the most complex portions of Facebook’s advertising back end, Facebook Ad Accounts control several aspects of the Facebook advertising platform. Ad Accounts are linked to Pages, Pixels, and Billing, along with other ad type specific components. You will use this interface whenever you need to add/remove new users, change ads, or change billing information, so a good understanding of how to manage Facebook Ad Accounts is vital! Facebook Ad Accounts are accessed under the Main menu tab for Accounts. To add a new Ad Account click the blue + Add button.
Option 1: Add an Ad Account (For Existing Accounts Outside Business Manager)
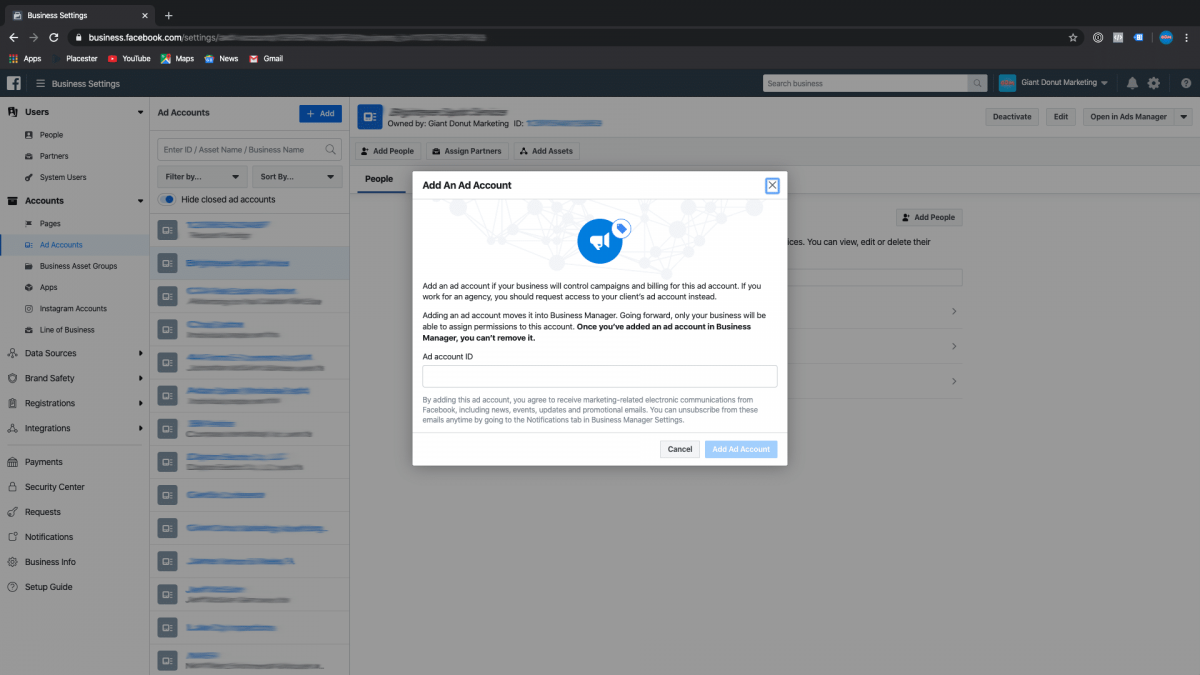
Please Note: Once an Ad Account has been added to Business Manager, you cannot remove it, so make sure you want to complete the merger.
Adding an Ad Account to business manager allows multiple parties to manage the advertising campaign, rather then using the Facebook Page advertising interface. Ad accounts can only be added to Business Manager one time, and they should be owned by the business owner. Agencies that need access to Ad accounts should use the second Add Account option.
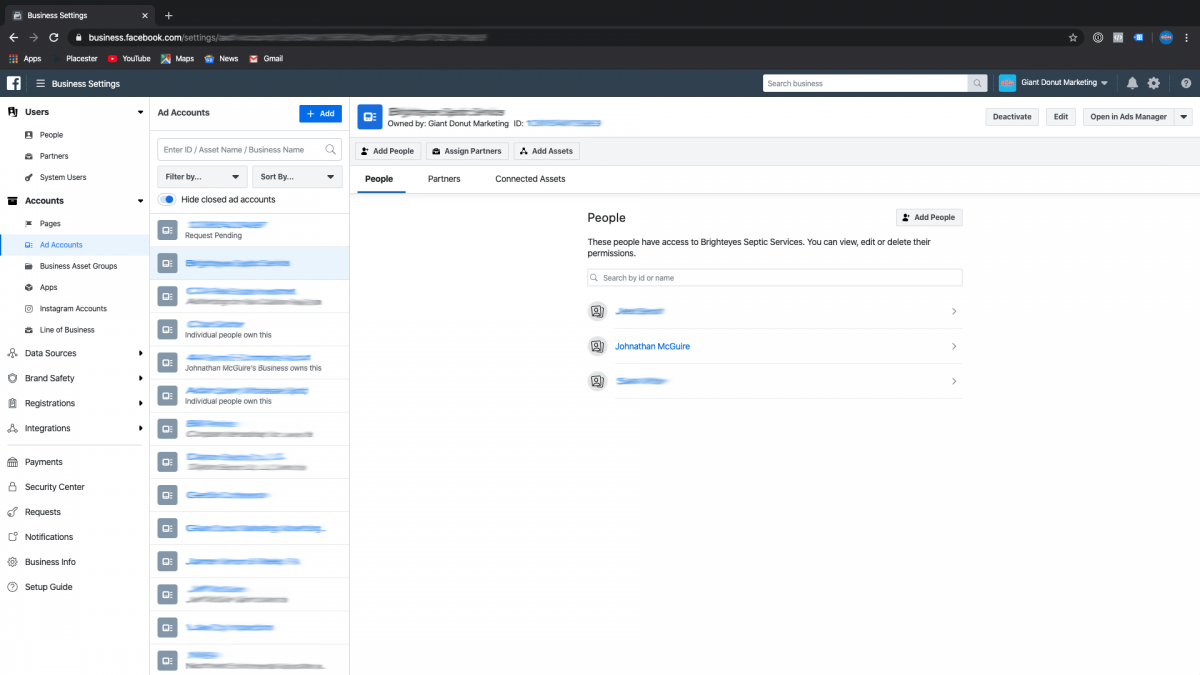
Option 2: Request Access to an Ad Account.
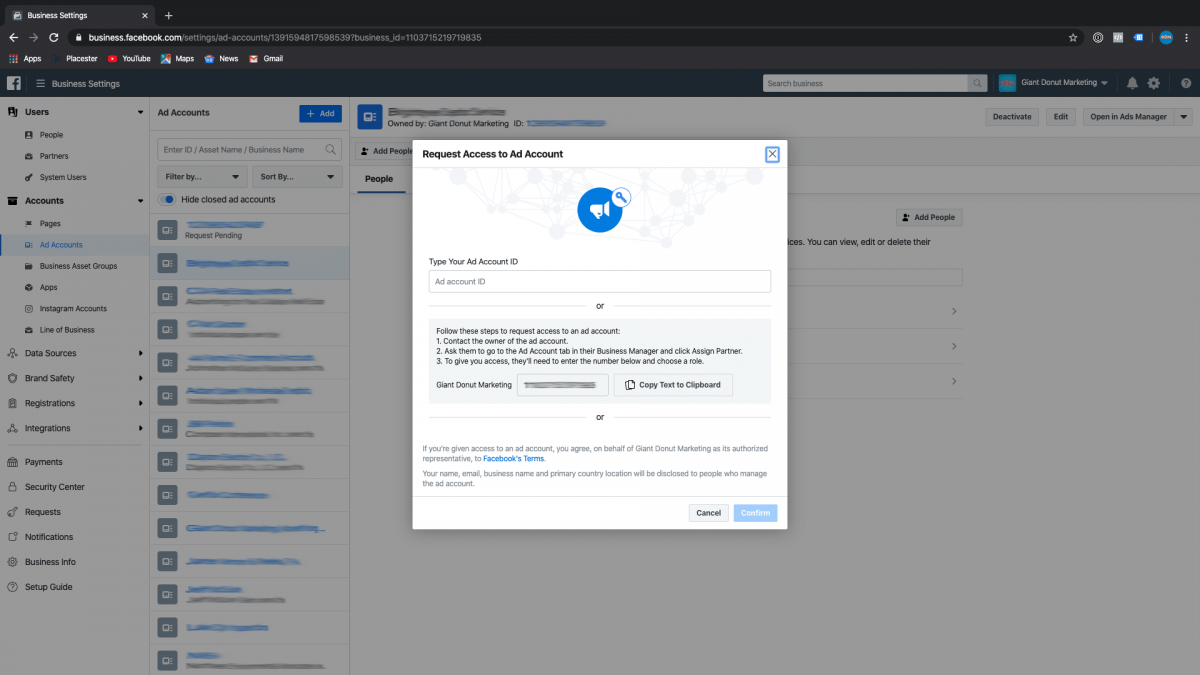
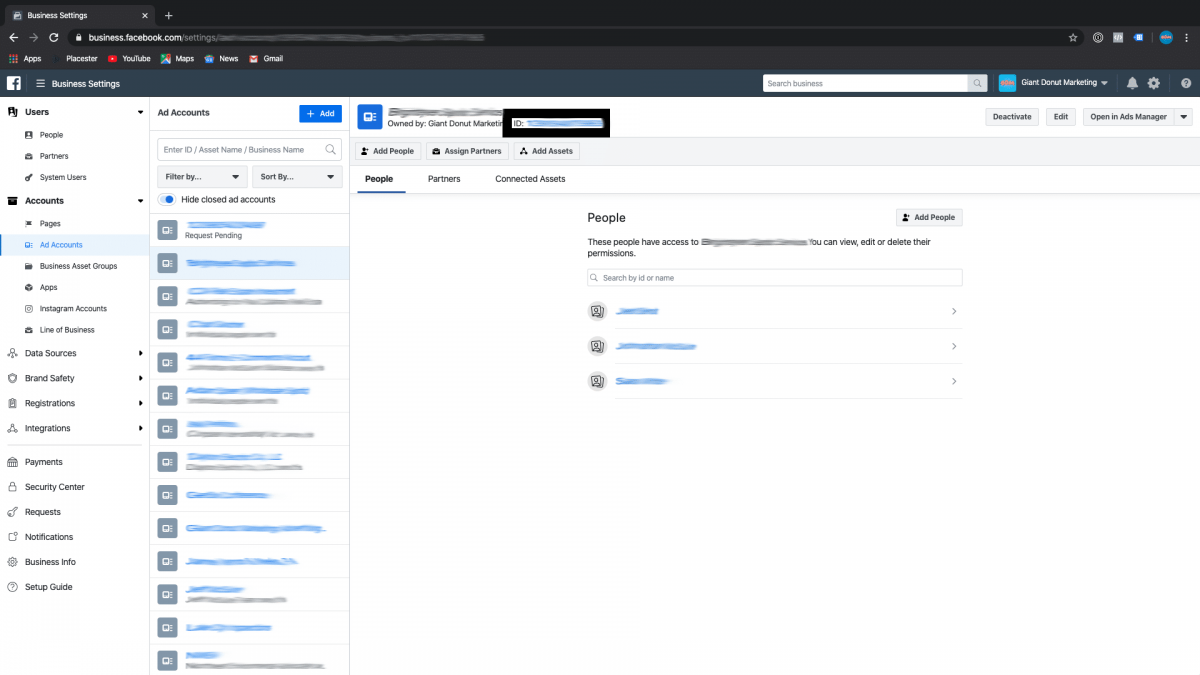
If you are not a business owner, and you need administrative access to their add account, you will Request Access to their account. All you need to request access to their Ad Account is the Ad Account Number. This is the blue number that appears directly below the Ad Account Name on the Ad Account Overview.
This will submit the Ad Account Request to the Business Manager Ad Account Owner, and they can grant your access from either the Desktop version of Business Manager, or the Business Manager App for mobile. It will typically popup under their notifications, and if not can be accessed from Page Roles on the Facebook Page itself.
Option 3: Create New Ad Account
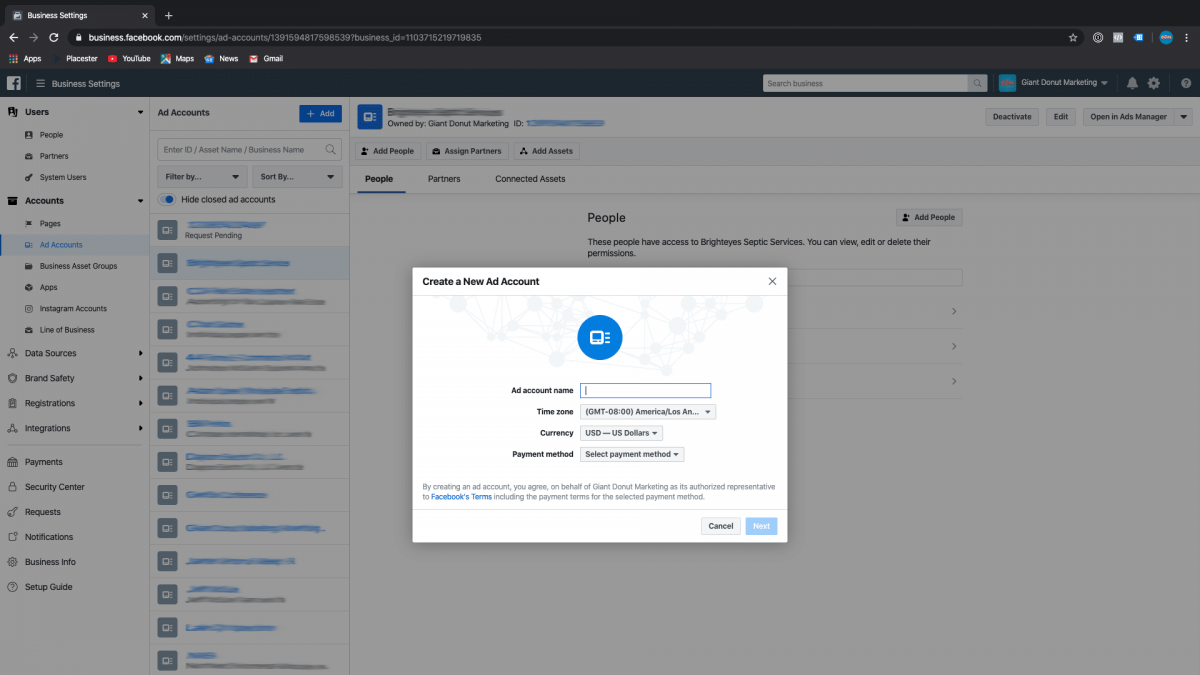
The last option is creating a new ad account. This is for businesses new to Facebook advertising, as well as users who have been using the Facebook Page advertising platform instead of the Business manager ad account. You will setup the account name, time zone, currency, and payment method. You can setup the payment method later from the drop down at another time if you do not have the credit card present. Once you press Save this will take you to the new ad account!
Final Note: User Authorization
Once you have created the Ad Account, you need to make sure and assign users to that add account. This is done by clicking the Add Users button in the center of the page. This will give your users access to this ad account for creating ads, audiences, and billing.
